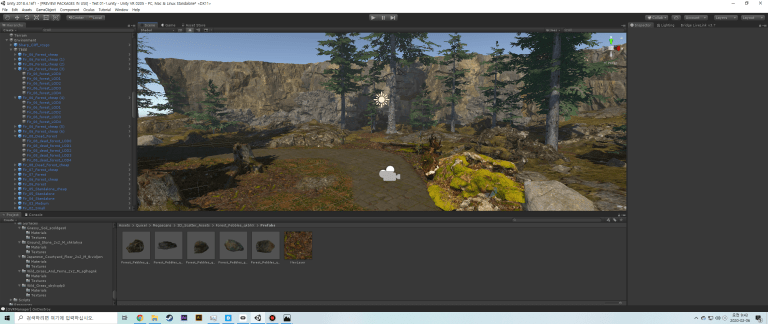
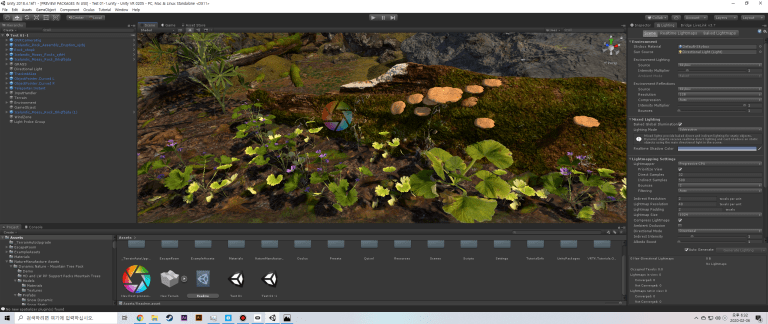
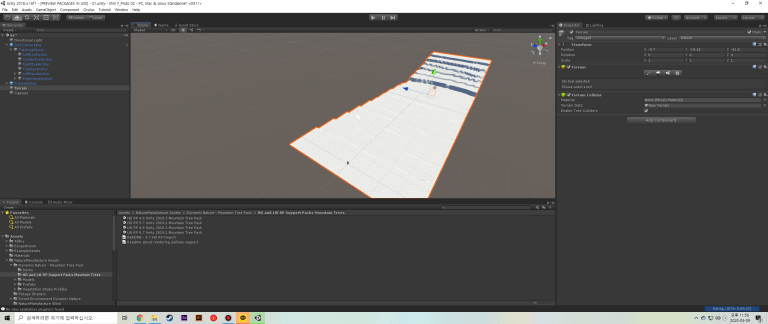
After finishing the essays for the first semester and I am judging myself that the theoretical parts have been arranged, I am move on to create a full-fledged virtual space on the Unity. I started by re-learning how to use the Unity Terrain function. And at the Asset Store, I started to make scene by importing the tree assets I had purchased when I was working on the ‘Getting into Unity’ project.
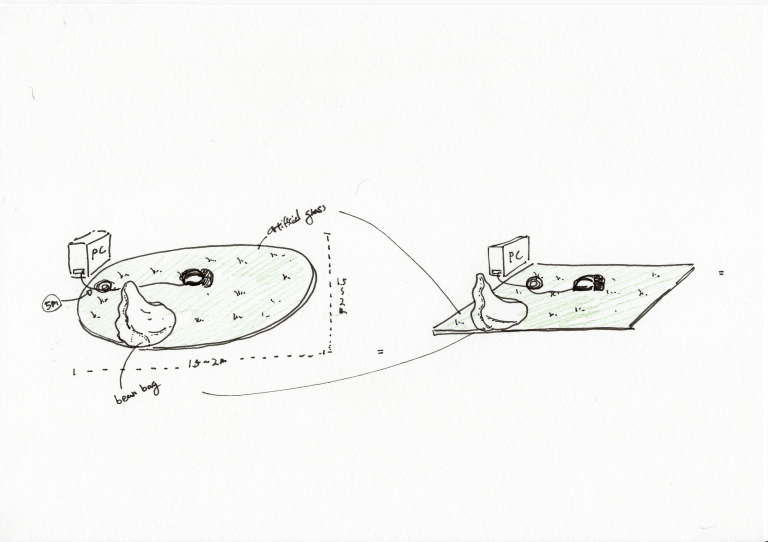
However, the virtual garden that is being made now is different from the method created in the first semester. The work of the first semester garden was built in the form of an application rather than real-time rendering. Then, it was executed as an ‘unknown application’, and the virtual garden was run using the built-in processor and battery. However, current work is connected to the computer directly with a USB cable, bringing the computer’s CPU and graphics card calculation to the Oculus. Therefore, it is possible to stably enjoy virtual garden natural with a high quality level of graphics. The other reason I changed the way of viewing the garden from wireless to wired was Oculus company developed a software called ‘Oculus Link’ that can use Oculus Quest as a PC VR such as Oculus Rift. And, there are more limitations that I personally felt during the first semester.
Oculus Quest’s battery running time and limited number of polygons can used were being limitation of proceeding project. The battery time is roughly 2 hours, but there was no way to solve the battery running time problem in the actual graduation exhibition. In the case of graphic limitation, assets such as low-poly can be viewed without any delay, but even if it contains a normal game asset or a tree with a slightly higher quality, the screen can be cut off.
However, it can be shown a clear difference from the existing VR called wireless. Also, it was possible to see new possibilities of VR. However, since the wireless form is still a first-generation product, I think there are still many areas that need to be solved and developed in many areas.


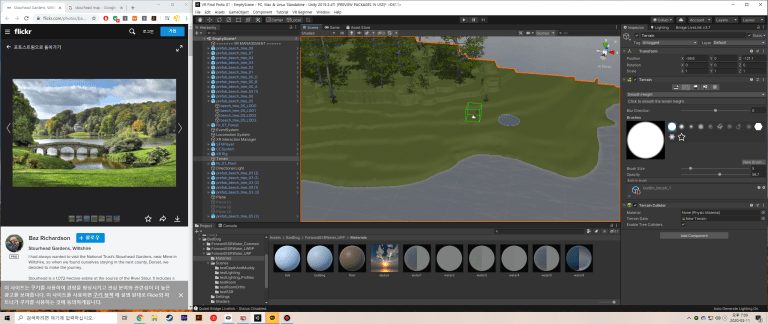
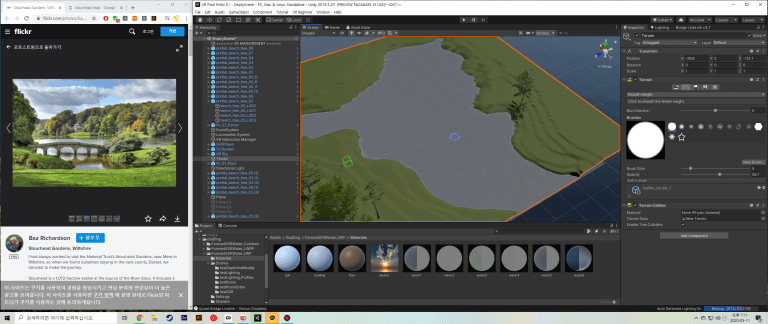
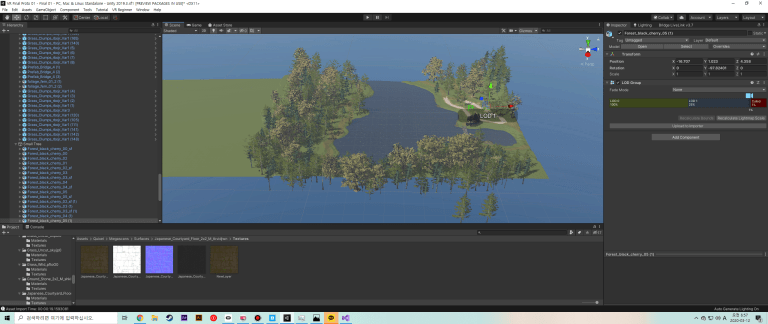
Before proceeding with the project, I downloaded a project called ‘Book of the Dead’, which was produced by Unity in 2018, and referenced it in my work. It wasn’t a VR-related project, but just looking at the topography of the natural environment created therein seemed to be a great help. For example, how the terrain was arranged, what objects were placed in each section, how the sound was set, and how the views were processed. Also, I will extract sounds and other assets used in this project to them into my project.

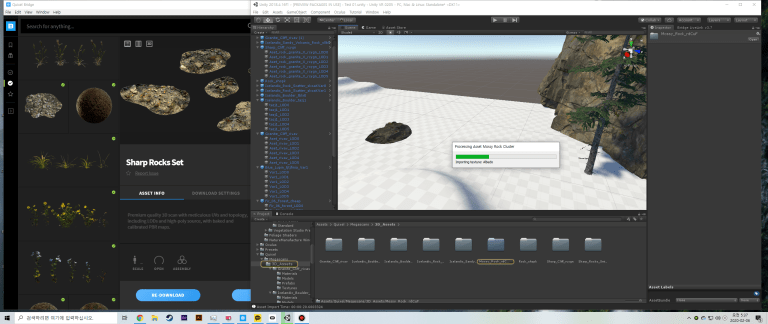
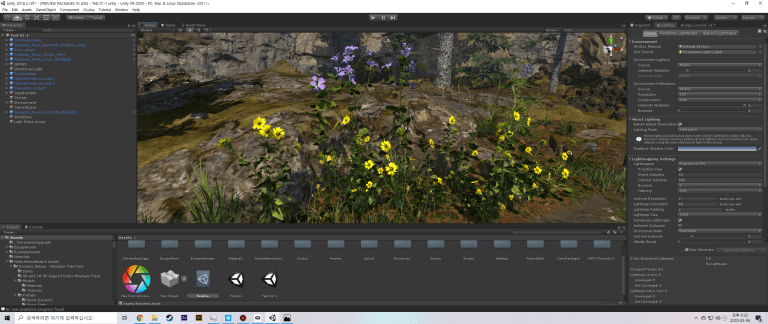
After looking at the Unity demo project, I am back to my project. I also started looking for the plants or materals what I needed for my work. Props and small plants were imported from Quixel Megascan, which was used briefly in ‘Rich Sensors project’ last year. All of Quixel Megascan’s assets are provided high-quality assets by photocopying existing terrain and features. And if you use the program called Megascan Bridge, you can quickly export it by installing a plugin inside of Unity.
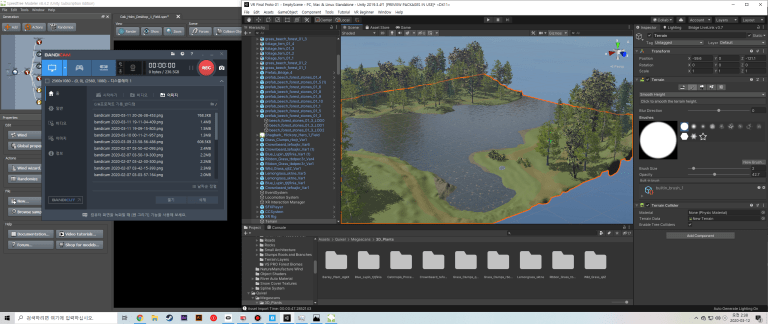
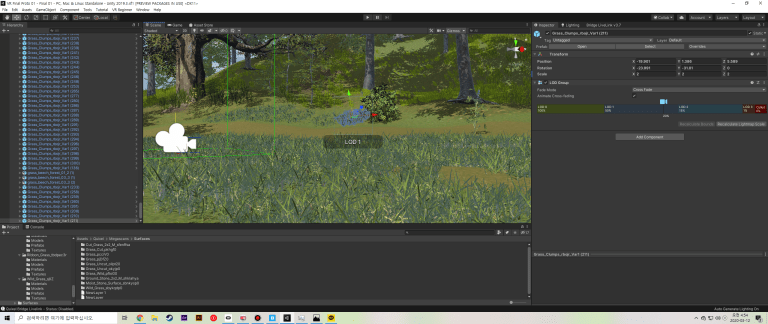
Having a long time and persistence, I am focused on created the terrain.

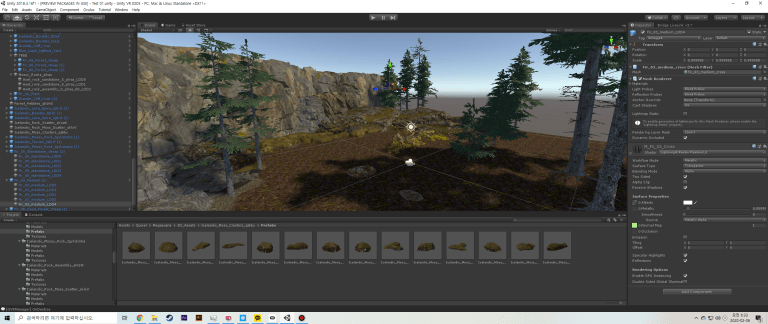


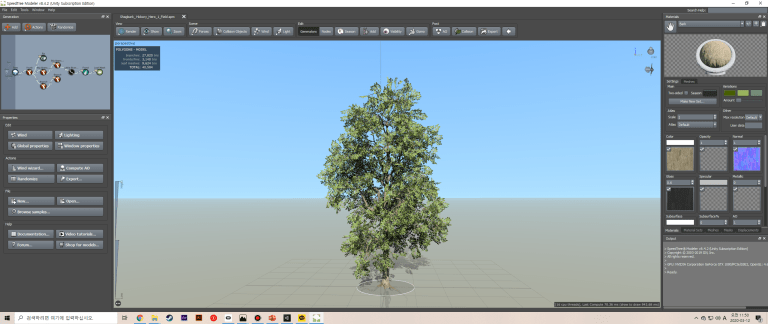
After making the terrain sample, I wanted to give the audience a more realistic feeling, so I did various studies on wind and sound. In the case of wind, it was found that the tree was made with a ‘Speed tree’, or by giving a noise value in the ‘Shader’, it could make the leaves look like they were actually moving.

And there are three render pipeline shaders in Unity. These are called ‘HDRP’, ‘LWRP’, and ‘SRP’. Each render pipeline is not compatible with each other.
- The High Definition Render Pipeline (HDRP) is a prebuilt Scriptable Render Pipeline, built by Unity. HDRP lets you create cutting-edge, high-fidelity graphics for high-end platforms.
- The Lightweight Render Pipeline (LWRP) is a prebuilt Scriptable Render Pipeline, made by Unity. The technology offers graphics that are scalable to mobile platforms, and you can also use it for higher-end consoles and PCs. Youre able to achieve quick rendering at a high quality without needing compute shader technology. LWRP uses simplified, physically based Lighting and Materials. The LWRP uses single-pass forward rendering. Use this pipeline to get optimized real-time performance on several platforms.
- A Scriptable Render Pipeline (SRP) allows you to control rendering
via C# scripts, giving you a very high degree of customization.Unity provides two prebuilt Scriptable Render Pipelines: the High Definition Render Pipeline (HDRP) and the Universal Render Pipeline (URP). Both of these offer extensive customization options. If you need even more control over your rendering pipeline, you can create your own custom SRP. You can create your own custom SRP from scratch, or you can modify URP or HDRP to suit your needs.
So, when I was working, I had to pick one render pipe and set only the appropriate shader. In my case, I used LWRP for VR, a setting that is basically provided when creating a Unity project. The reason for using this pipeline is that, in the case of VR projects, two screens each for per eye, high refresh rate, and a resolution close to 4k make the computational rate usage by the graphics card and cpu very high. Using a lot of internal computer resources means high fever. If a computer has to be turned on for a long time during a graduation exhibition, problems can occur. Therefore, LWRP, a light pipeline compared to HDPR, was selected to slightly reduce the amount of computation and project capacity.

I also looked at the setting called post-processing v2. This is to make the scene look a bit more quality by processing the color and blurring of the scene. However, in the VR project, although it was applied on the scene screen, it was not applied when viewed in VR. Post-processing receives external settings from the main camera. In VR, there are three cameras: left, right, and center. Probably there are additional settings, but I will investigate and fix them in the future.
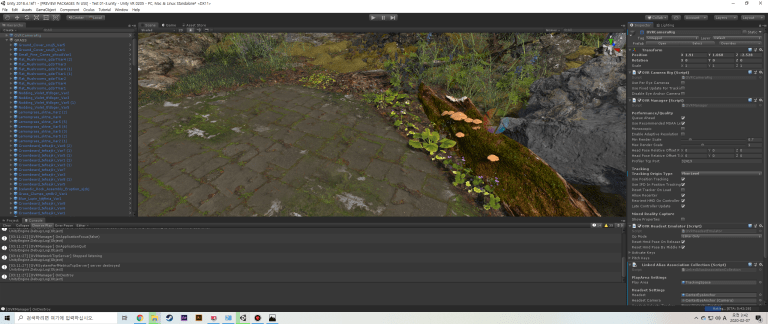
I am developing my project step by step. Now it’s time to connect the EEG and the virtual garden, not just the virtual space. In the first semester, only interlocking with OSC and cubes were used to rotate and change colors. What I’m going to do this time is to spawn a pre-specified plants at a specified location in response to an EEG.
—————————————————————–
using System.Collections;
using System.Collections.Generic;
using UnityEngine;
public class NewBehaviourScript2 : MonoBehaviour
{
public GameObject[] newObject;
public Transform newPosition;
int randomInt;
// Start is called before the first frame update
void Start()
{
}
// Update is called once per frame
void Update()
{
if (Input.GetKeyDown(KeyCode.Q))
{
RandomSpawn();
}
}
int GetRandom(int count)
{
return Random.Range(0, count);
}
void RandomSpawn()
{
randomInt = GetRandom(newObject.Length);
var position = new Vector3(Random.Range(-4, 5), 0.5f, Random.Range(-4, 5));
GameObject clone = (GameObject)Instantiate (newObject[randomInt], position, Quaternion.identity);
Destroy(clone, 5.0f);
}
}
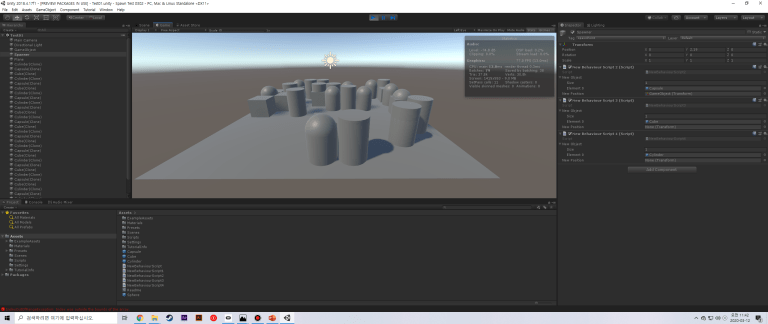
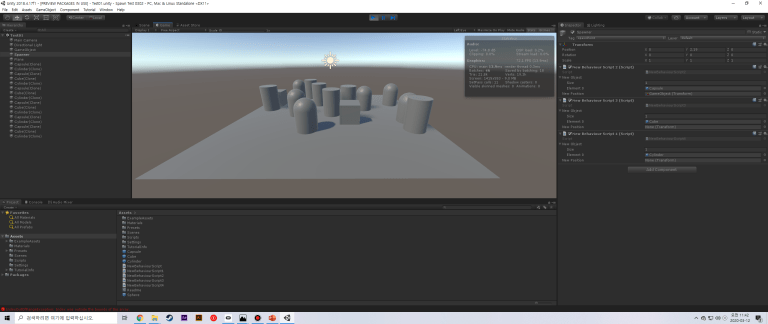
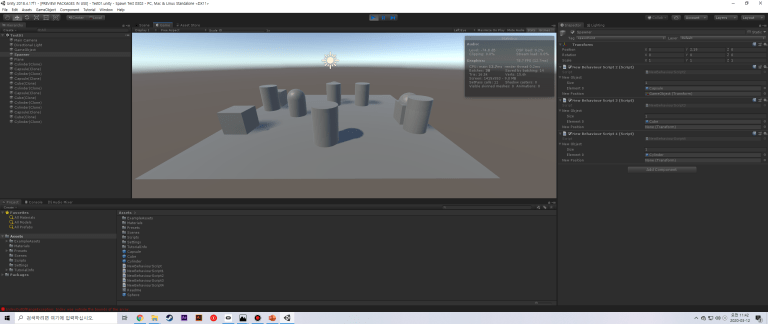
Once I pressed the keyboard, the object was spawned. I can call an object using the ‘Instantiate’ function. However, it must be stored in the form of prefab in advance for you project folder. Also, when spawning an object, the ‘Destory’ function could be made to disappear after a certain period of time.
If this work goes further, if I map the object spawn script that I wrote in advance when the OSC reaches a certain value later, I think that it will become a garden that changes according to the emotional state of the individual that I originally envisioned.


This is the process of my implementation. What I am going to do in the future is to create a empty space with only grass and spawn objects on there.