
This project was a short workshop for a week. It was about visualization of the sound. We did this by using the Processing, After Effects, or MaxMsp.On the first day there was an overview of the project and a brief demonstration of the Processing sketch.
The project assessment guide says it’s best to use sound as data. It was a real-time configuration and sound prioritization without focusing on technical implementation.
Tutor talking about the characteristics of the sound before showing the processing sketch. Sound is a medium flowing in the air … etc. The data type of sound is linear type, and so on.
Tutor also introduced how to modify sounds using Adobe Audition. And showed us the work of creating a self-portrait with the sound source spectrum of the audition, and the processing sketch showed the work using the Minim library, the sound library and PGraphic.

On the second workshop day, tutor showed us the sound visualization using After Effects. And in the case of After Effects, we used an additional plugin. The plugin called “RedGiant – Sound KEYS”.
In the case of Processing, tutor have shown a bit more code and deeply. That was save the image as a photo-JPEG and then randomly pop the scene of the image to match the music.
And I went back to home, I got a rough idea of the project. In this project I will use After Effects and use k-pop from Riot Games called K/DA. The only remaining problem was how to visualize the sound in what direction.
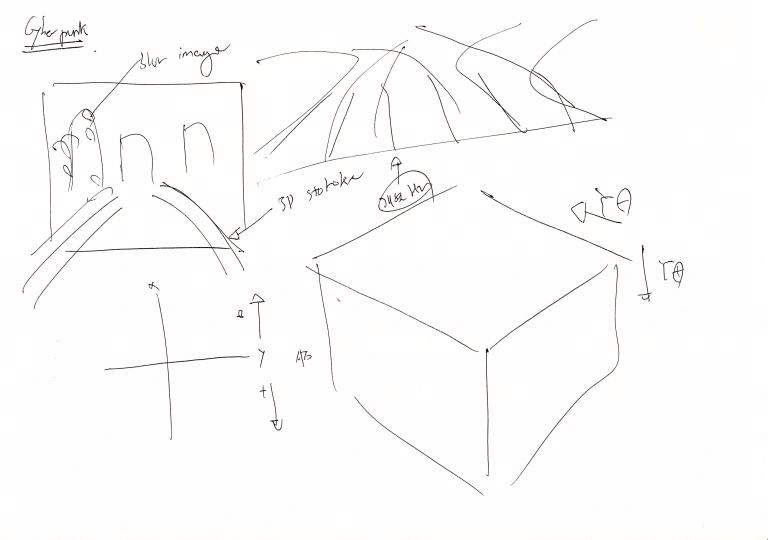


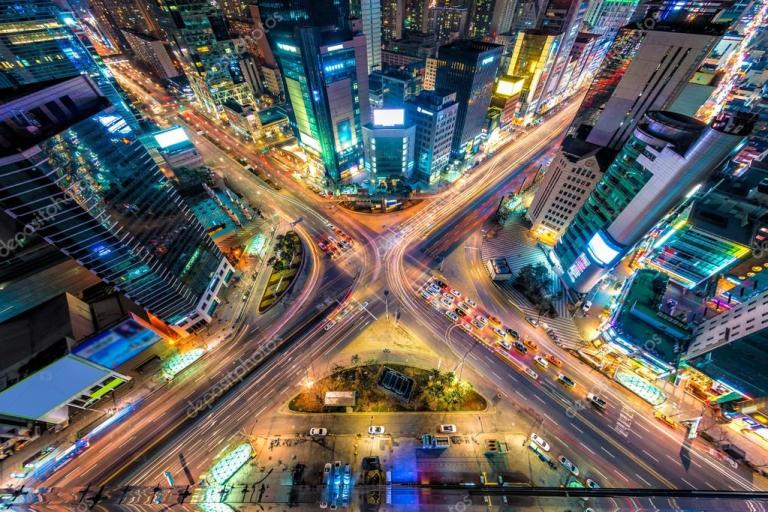
In the background, I tried to put neon signs and high-rise buildings like Korean signboards and put out lights like out-focusing. And it was also said to use the TrapCode line effect of After Effects to visualize the lines of cars passing by on the road.


The “SoundKey” was the first plug-in I tried on this project. So, I refered to the lecture on the YouTube.
I used this project music source that “K/DA POP/STARS” was produced by Riot Games in commemoration of the 2018 Incheon LOL Championship game. I am personally liked this music.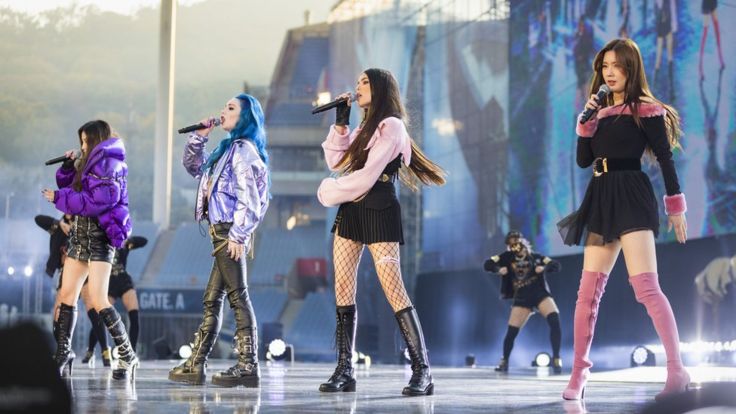

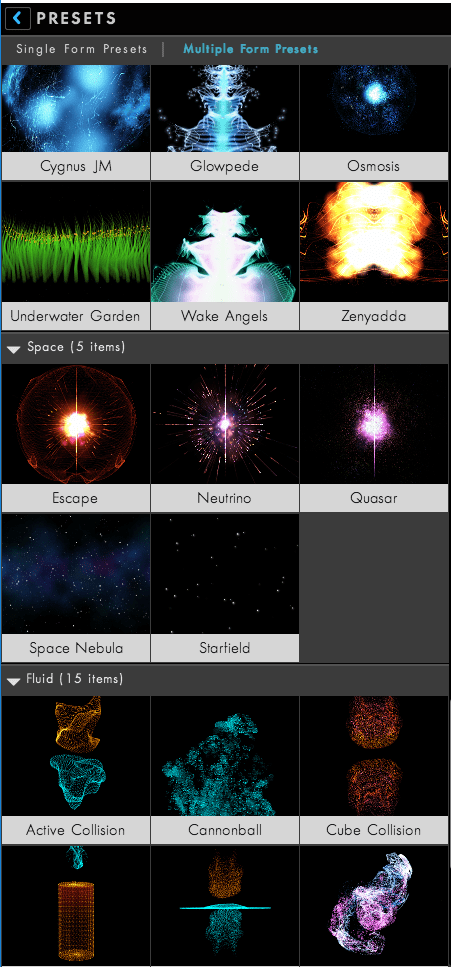
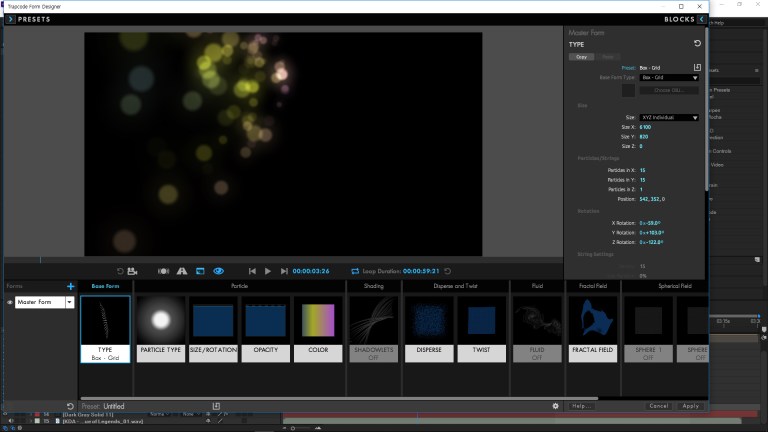
Before creating the final work, I created a number of prototype works based on the tutorial seen on YouTube. The TrapCode plug-in was able to easily create various tasks with the preset form provided in the separate setting window. It was convenient to set the type, color and brightness separately.


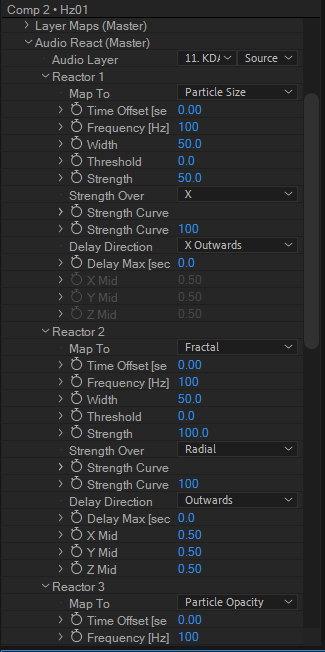
I can also apply a specific frequency(Hz) to the desired part by setting the sound key.
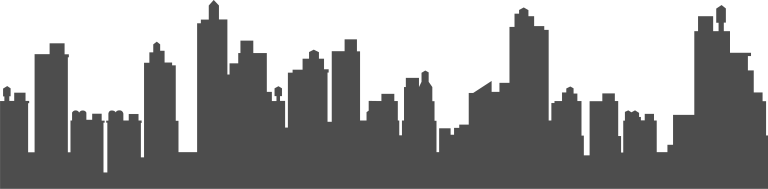
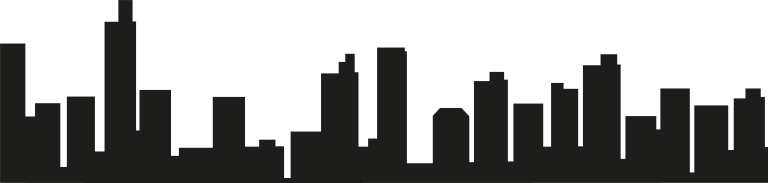
And I made a background image that shaped the city. (The image of this city get from the internet) I tried to make the lines in Test3 above be bent like a road, but I could not figure out how to make it, I made it straight.


Then I set up the camera to make the 3D layer in the After Effects and gradually get sucked in. And I used the trap code to express the city night view in the evening.


Then I combined the composition of Test 3 with the background work and produce the final result.

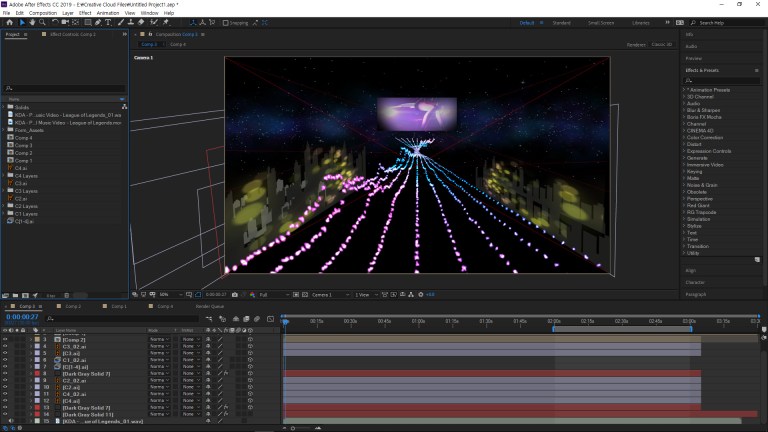

This is final work.
